Using Notes
Throughout the CRM, there are places for Notes to be tied to a record. To create a new note, use the 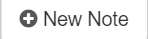 button, located in the notes module on any record. A dialog box will open.

Use the text area to write the content of the note. The Formatting tips are included. Rich text formatting elements may be applied to a note via a simple and easy to use syntax called Markdown. Use the reference below to learn the syntax for common elements and styles. For more detailed information, refer to the official Markdown syntax guide.
Below the content of the note, is an aoption for tags to be added to the note.

Tags are used as a way to filter through notes. New tags are created by simply, using the tag you wish to create on a note. Existing tags can be found by autopopulation as you begin typing, or by using the dropdown provided.
One your note is complete, choose what types of notifications are needed for this note. Notifications include a copy of the note, as well as a link to record in which the note is located. (Please note, a person MUST be signed into the system to use this link.)
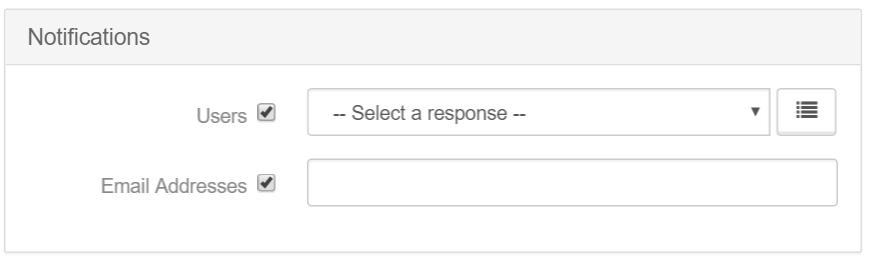
- By checking the Users box, you are choosing to send notification to specified system users. These can be chosen from the dorpdown provdided. To chose one user, use the dropdown normally. To choose multiple users, use the
 button located next to the dropdown. This will allow you to check as many system users as desired in the dropdown.
 - By checking the Email Addresses box, you are choosing to send notifications to specified email addressed outside of the system. These addresses can be added by creating a comma deliminated list.
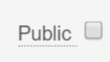
- The last step to sending notifications outside of the system, is checking off the Public choice at the bottom, right-hand side of the Note box.
Articles in this section
Have an additional question about any of the tools that you answered? Submit it here, and we will be in contact to help you!