Events
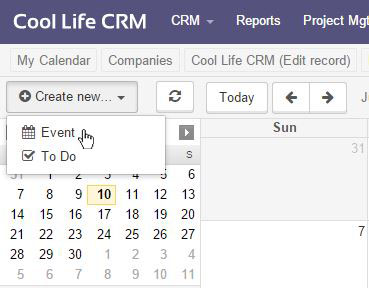
To add an event to your calendar, go to the Calendar tool and click Create New... from the top left-hand corner. Select Event from the dropdown.
A dialog box will open, giving you several fields to fill out.
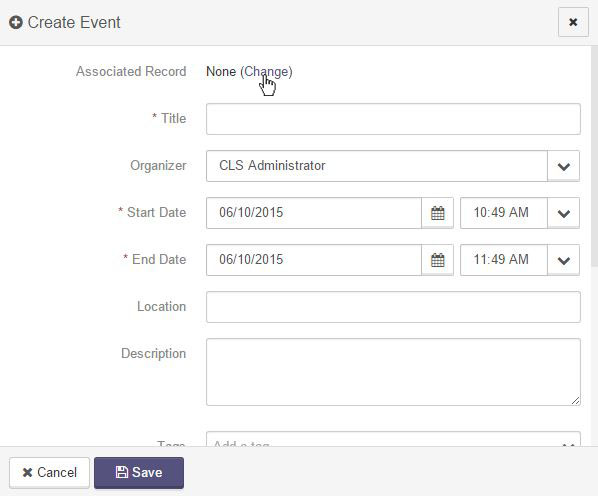
Fill out the fields needed for the specific event:
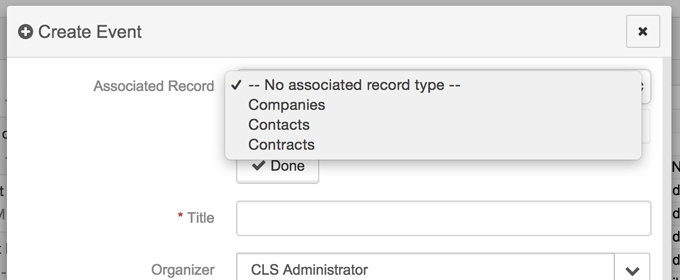
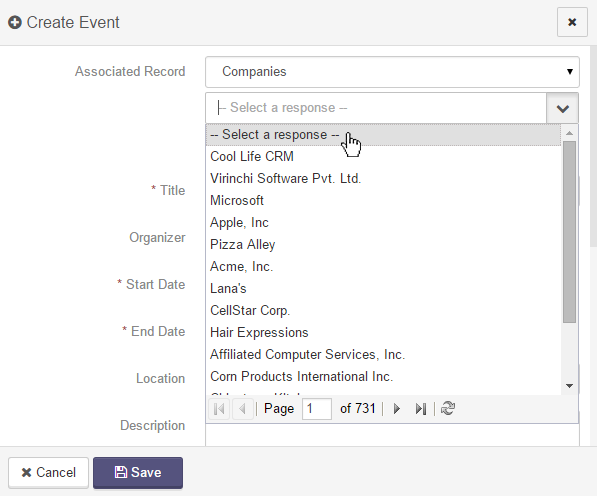
- Associated Record: This is the CRM record that the event will be associated with. This can be changed at any time by clicking on the (Change) link located next to the name. You can then use the dropdown and searchable field to chose what record you would like to change this to.
- Title: This is the title of the event as you would like it to appear on your calendar.
- Organizer: This is the system user who created the event.
- State Date/End Date: This is the date and time for the event.
- Location: This is where the event will take place.
- Description: This field is for any details pertaining to the event.
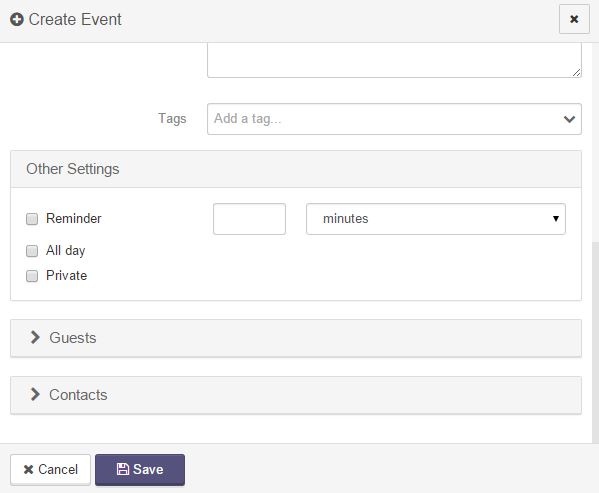
- Tags: This is where you can tag the event to show up when searched for.
- Reminder: Check this box and fill out the field to set a reminder within the toolset for the event.
- All Day: Check this box if the event is an all day event.
- Private: Check this box if you do not want this event to appear on your calendar for others to view.
You can also add Guests and/or Associated Contacts to each event by opening the Guests or Associated Contact portion of the dialog box and searching for the record that you wish to add to the event.
Articles in this section
Have an additional question about any of the tools that you answered? Submit it here, and we will be in contact to help you!